If your pool light has gone out, don’t stress—replacing a burned-out bulb isn’t as complicated as it sounds. You don’t need to drain the pool or do any major electrical work, but you do need to be careful. Here’s what you need to know to swap it out and get your pool glowing again.
What You’ll Need
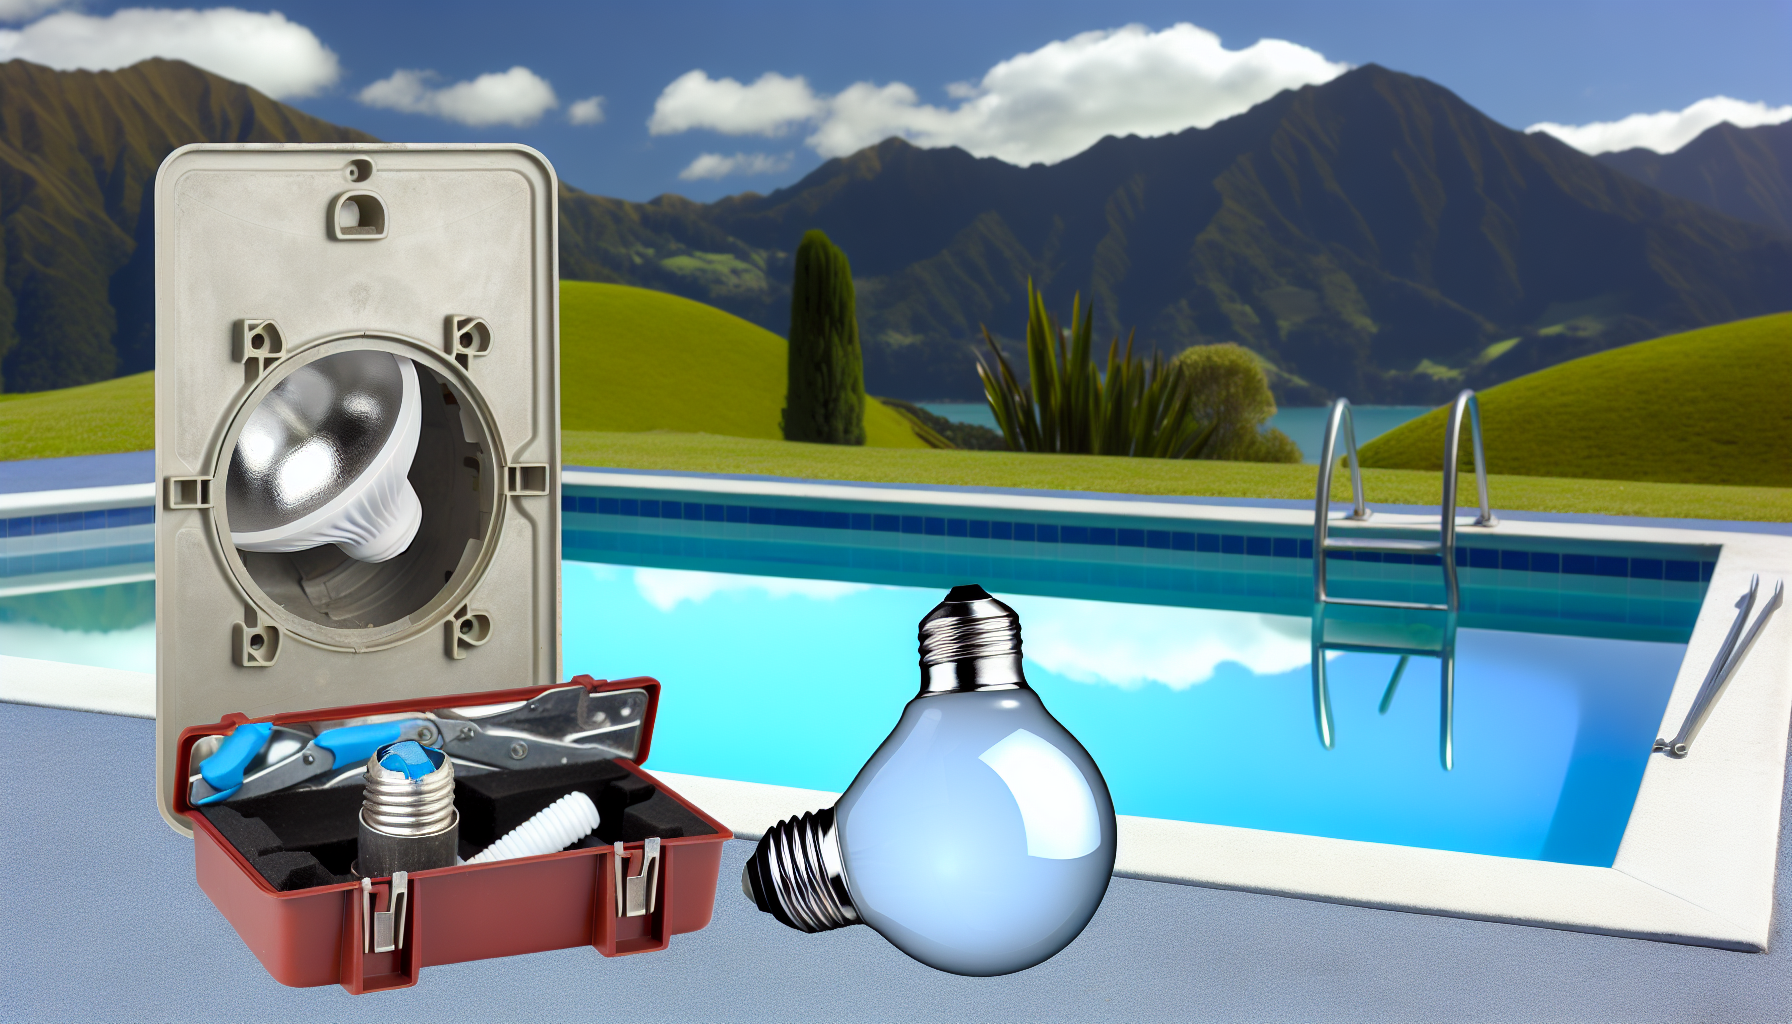
Before you start, make sure you have the right tools and replacement parts. You don’t want to open up the light fixture only to realise you don’t have everything. Here’s what you’ll need:
- Replacement bulb – Check your current bulb type before buying a new one. Most pool lights in NZ are either halogen or LED. You can find replacements at places like Bunnings or Mitre 10 – just match the wattage and voltage.
- Screwdriver – Needed to remove the light fixture from the housing.
- Rubber gloves – To protect your hands and give you a better grip.
- Silicone lubricant – Helps keep the rubber gasket watertight. You can grab some from NZ Pool Supplies.
- Replacement gasket (if needed) – If your old gasket looks worn out, replace it to prevent leaks.
Step-by-Step Guide
1. Turn Off the Power
This should go without saying, but let’s be clear—water and electricity don’t mix. Turn off the power at the circuit breaker to avoid any nasty surprises. If you have a dedicated pool light switch, turn that off too.
2. Remove the Light Fixture
In most cases, your pool light is held in by a single screw, usually at the top of the fixture. Unscrew it and gently pull the whole unit out of the pool wall. The cable should have enough slack to bring it up onto the pool deck.
3. Open the Fixture & Remove the Old Bulb
Once you have the fixture out, set it on a dry surface. Unscrew the glass lens or cover—there might be a few screws or a locking ring keeping it in place. Take out the old bulb and check for any damage to the fixture. If you see water inside, you might need a new seal or gasket.
4. Install the New Bulb
Screw in the new bulb, but don’t overtighten—it just needs to be snug. If you’re using an LED bulb, double-check that it’s a direct replacement and works with your existing setup. Halogens and LEDs aren’t always interchangeable, so check the manual or ask a pro if you’re unsure.
5. Check the Gasket & Reassemble
The gasket is what keeps water from getting into the light fixture. If it looks cracked or worn out, replace it. Before putting the fixture back together, apply a bit of silicone lubricant to the gasket to keep it watertight. Then, put the lens cover back on and make sure everything is screwed in securely.
6. Test the Light
Before you put the fixture back in the water, turn the power back on briefly to check that the new bulb is working. If it lights up, great! Turn the power off again to finish up. If it doesn’t, double-check that the bulb is seated correctly, or try a different bulb to rule out a faulty one.
7. Secure the Fixture Back in Place
Now that everything is working, place the fixture back in the pool wall and tighten the screw. Make sure it’s sitting flush against the wall so no water seeps in.
Tips & Things to Watch Out For
- Upgrading to LED? If you’re swapping out a halogen bulb for an LED one, make sure it’s compatible with your transformer. Some LED bulbs need a different voltage. If you need help choosing, talk to a pool specialist like Pool & Spa Warehouse NZ.
- Water inside the fixture? If you see moisture inside the old light housing, your gasket is probably shot, and replacing the bulb alone won’t fix the issue. Consider getting a full light fixture replacement.
- Not confident around electricity? If you’re at all unsure, get an electrician or pool professional to do it instead. Safety first!
Where to Buy the Right Parts in NZ
You don’t have to hunt too hard to find what you need—here are a few good places to check:
- Bunnings and Mitre 10 – For basic replacement bulbs and tools.
- NZ Pool Supplies – Great for pool-specific parts like gaskets and specialty bulbs.
- Pool & Spa Warehouse NZ – Ideal for LED upgrades or full replacements.
That’s it! If all goes well, you should have your pool light back in action in under an hour. If something doesn’t work or if the seal still leaks, don’t force it—sometimes it’s easier (and safer) to call in a professional.
Leave a Reply